

MAKING WALLET PATTERNS – Leather Goods and Footwear
By the end of this element, you will be able to explain the meaning of a wallet, identify tools used in making wallet patterns, recognise materials used in making wallet patterns, and design wallet patterns.
Meaning of a wallet
A wallet can be defined as a small folding case for carrying cash, credit cards, and other flat objects that can be carried in a pocket.
Tools and equipment used in making wallet patterns
A variety of tools and equipment are used to make wallet patterns. These include a workbench, working table, tape measure, rulers, pencils, erasers, cutting board, tracing wheel, knife, and scissors. Machines and equipment facilitate the process of making wallet patterns.
In modern technology, designers and pattern makers use Computer-Aided Design and Manufacturing Machines that use special designing software.
Materials used in making wallet patterns
The commonly used materials to make wallet patterns are Manila paper (both hard and soft) and A4 paper.
Procedure for making wallet patterns
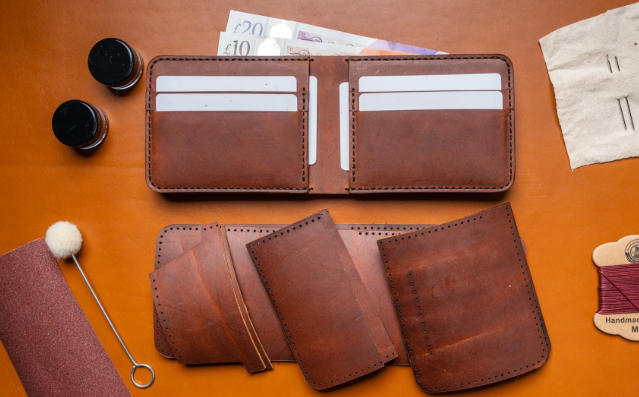
1. Identify the required design as shown in Figure below

Sample of wallet design
2. Selection of tools and materials required. Select relevant materials, machines, and tools that will be used to make wallet patterns.
3. Sketch a wallet on plain paper. Use plain paper or soft manila paper as shown in Figure below

Sketch of a wallet
4. Interpret measurements into sketches. Measurements of wallets differ by type. Common measurements are 10 cm in width and 20 cm in length. However, the wallet has slots with different shapes and sizes. You should measure and record the sizes of the slots according to specifications.
5. Transfer measurements onto a manila sheet. Fold the two flaps into the middle, so it is split into four sections, as shown in Figure below

Flap folding
6. Fold the sheet in half and then crease. Fold the two flaps into the middle to get two equal sides, as shown in Figure 1.4.

Sample of wallet design
7. Mark where each flap will start and cut along that marked line (viewed from the inside). These black lines are folding marks for slots, as shown in Figure 1.5.

Cutting Marks for Slots
8. Fold the flaps. Fold the second and fourth flaps from the top inside on either side, as shown in Figure 1.6.

Folding of slots
9. Cut the flaps. After cutting, the slots will be visible, as shown in Figure 1.7.

Pieces of slots
10. Label the patterns according to their parts.
11. Clean the tools and equipment, then store them.
Activity 1 Making bi-fold wallet patterns using a width of 10 cm and a length of 20 cm
Materials: draft paper, soft manilla paper, hard manilla paper
Tools: workbench, work table, tape measure, rulers, pencils, eraser, cutting board, tracing wheel, knife, and scissors.
Perform the following procedures
1. Prepare the tools, materials, and equipment required.
2. Set up a working table.
3. Place a piece of manila paper on the table.
4. Sketch a wallet on soft manila paper.
5. Interpret measurements on hard manila paper.
6. Cut out the master patterns and use them to cut slots.
7. Label the patterns according to their parts.
Question: What challenges did you face when performing the activity, and how did you overcome them?
Activity 2: Produce a wallet pattern with card-holding partitions on one side and a partition on the other side fastened with a press button. Make sure it has one continuous partition large enough to hold money.
Exercise 1
1. Briefly, explain why a thin wallet is more favourable than a thick wallet.
2. What is the importance of labelling wallet patterns?
3. What are the functions of a cutting board?