

MAKING TRAVELLING BRIEFCASE PATTERNS – Leather Goods and Footwear
By the end of this element, you will be able to define the meaning of the briefcase, identify tools and materials used in making briefcase patterns, and design different types of briefcases.
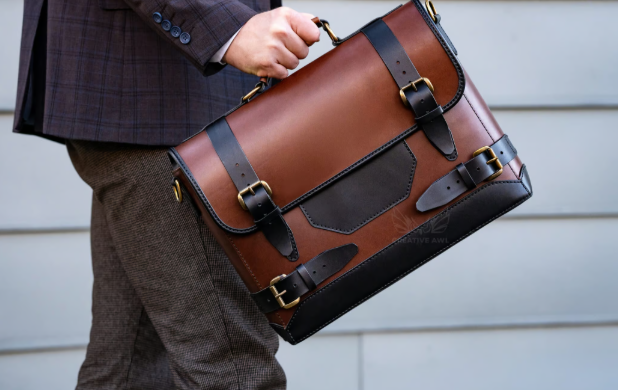
Meaning of a briefcase
The briefcase is a container with a handle or shoulder strap for carrying books and documents. It contains several parts, as shown in Figure below.

Sketch of a briefcase
To create briefcase patterns, first identify all tools and materials that are needed for that task. The tools and materials are mentioned below.
Tools: workbench, tape measure, rulers, pencils, cutting board, tracing wheel, and scissors
Materials: Masking tape, manila paper, plain paper, and draft paper
Procedure for making briefcase patterns
1. Draw a main sketch of the briefcase on a manila or pattern paper
This is the first step of designing. Sketch a briefcase of a product to be produced, as shown in Figure below.

A sketch of a briefcase
2. Produce a master pattern
Create a master pattern which shows all main parts of the briefcase, as shown in Figure below.

Parts of briefcase
After the construction of the prototype, add allowances (seam allowance and folding allowance) of 10 mm for each.
The basic goal of making most patterns is to figure out how to transform a flat material (2-dimensional) into a 3-dimensional object. A simple briefcase normally has the following dimensions, as shown in Table below.
|
Dimension |
inch |
cm |
|
Length |
16 inches |
40.6 cm |
|
Height |
11 inches |
27.9 cm |
|
Width |
3 inches |
7.62 cm |
Briefcase dimensions
Analyse the measurements of a briefcase, as shown in Figure below.

Briefcase measurements
This is the front side of the briefcase, which can also be used on the back part according to the design.
You will repeat the same procedure as you learnt in the last element for other parts, such as flaps and other patterns, depending on the design. Add all allowances required as per design.
3. Perform cutting of patterns
Cut Lines. The lines on a pattern indicate where you need to cut your leather; these are usually the outside borders of the pattern but may include internal cut-outs, as shown in Figure below.

Cutting of pattern
4. Make holes if required
Black circles on patterns indicate places where holes will be punched for rivets, snaps, and buckles, as shown in Figure below.

Marked holes
5. Grading of a pattern
Grading is a fundamental concept in pattern making. It involves systematically adjusting the measurements of a finished pattern to create multiple sizes while preserving the style and proportions of the original design. This stage may be practised if a variety of sizes is required.
6. Label patterns and store them in a proper place. Write information on patterns as you have done in the previous element.
7. Clean and store tools.
Activity 1: Constructing a portfolio briefcase prototype using a length of 16 inches and a width of 4 inches
Materials: masking tape, manila paper, plain paper, and draft paper
Tools: a tape measure, ruler, pencil, cutting board, tracing wheel, and scissors
Procedures
1. Prepare the tools and materials to be used.
2. Sketch a portfolio briefcase on a soft manila paper.
3. Transfer the sketch onto hard manila paper.
4. Cut out patterns.
5. Label patterns.
6. Use patterns to cut soft manila paper as per pattern measurements.
7. Make the briefcase prototype to confirm the appropriateness of patterns.
8. Clean the tools and equipment.
Question
Which stage was difficult for you? Why?
Exercise
1. What are the functions of cutting boards?
2. What is the importance of grading patterns?