MAKING TRAVELLING BAG PATTERNS – Leather Goods and Footwear
By the end of this element, you will be able to define a travelling bag, identify tools and materials used in making travelling bag patterns, and design a variety of travelling bag patterns.
Meaning of travelling bag
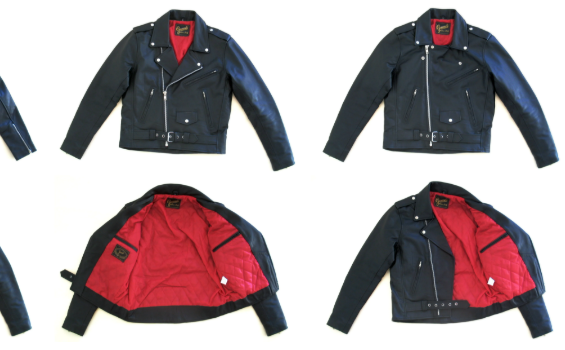
A travelling bag is a portable container for carrying clothes and other items. There are different designs of travelling bags, as shown in Figure below

Samples of travelling bags
Tools and materials used in making folder pattern
Tools: work table, tape measure, ruler, pencils, eraser, cutting board, tracing wheel, and scissors
Materials: draft paper, soft manila paper, eraser, and hard manilla paper
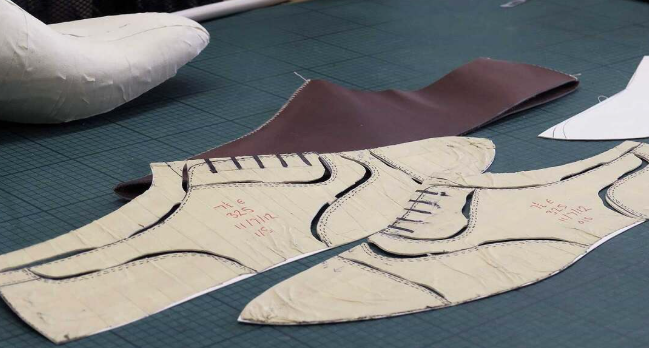
Procedures for making travelling bag patterns
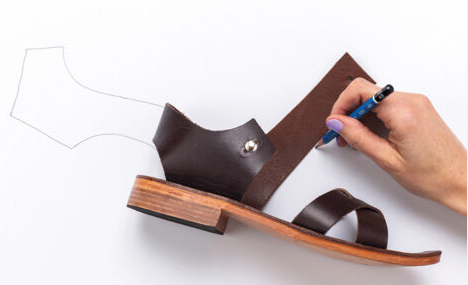
1. Drawing a travelling bag on a soft manila or draft paper. At this stage, sketch a bag related to the required design, as shown in Figure 1.17.

sketch of the bag
2. Creating designs: To create a three- dimensional shape, you need to start making patterns that are more than just two flat pieces of leather joined together.
3. Creating a gusset: This involves adding an additional piece of material attached to the sides, bottom, or both. This helps to create a cubic space (volume) inside the bag, as shown in Figure below

Gusset pattern
The length of the gusset pattern will be equal to ((height of side X 2) + length), as shown in Figure below. However, the application of this formula may depend on the design.

Gusset side base
Trace the outline of the back of the bag, including the holes for the rivets on the strap. Take a ruler and use it to mark and add a 5 mm seam allowance to the sides and bottom of the pattern piece. The front flap piece is an extension of the back of the bag, so we need to add that to the back piece.
However, we also need to give the flap a little more length to account for the depth of the bag and allowance. To do this, take the gusset width measurement, divide it in half and draw a line this far above the top of the bag. Add seam allowances as shown in Figure below

Gusset pattern with allowance.
4. Making the back pattern piece as shown in Figure below

Back part pattern of the bag
If the leather is stiff, the bag will hold its shape. Therefore, add the entire width of the gusset to the flap to make it long enough. In contrast, if the leather is soft, the bag will tend to fold flat at the top unless it is stuffed full.
5. Making the pocket pattern
The pocket size of a bag will depend on the design and the designated materials to be carried. To make a pocket pattern, first trace off the outline of the pocket from the draft (or simply draw a new square of the same size).
Add 1 cm a seam allowance to the pocket pattern, then cut out the pocket pattern, as shown in Figure below

Pocket pattern
6. Making straps patterns
To start making patterns for the straps, trace them from the draft, or simply draw new shapes as they are easy to create.
To make the strap long enough, you also need to add the same gusset width that you added to the flap. Remember to include the rivet hole positions or fastening points on the joint end of the strap. These holes and the buckle or adjuster closure will allow the position of the flap to adjust slightly depending on how full the bag is, as shown in Figure below

Strap
Add 1 cm seam allowances to straps for stitching with other parts, as shown in Figure below

Pieces of traps
7. Label and store patterns: Label patterns with their names and parts. As you learnt in a previous element, labelling patterns will tell you which piece of the pattern it is, and what material should be cut from.
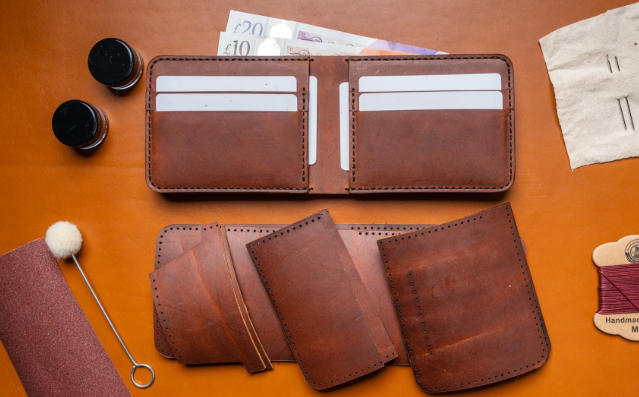
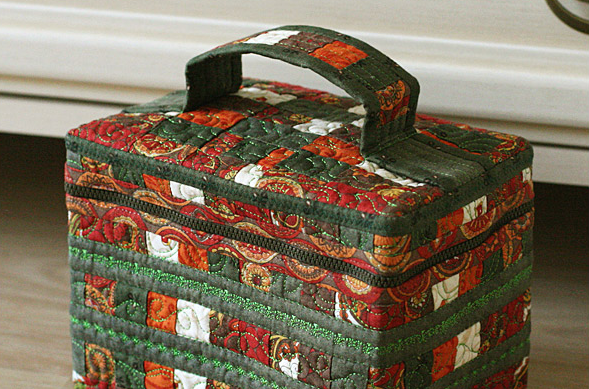
Finally, a prototype will appear as shown in Figure below

Bag prototype
8. Clean all tools and equipment you have used and store them in specific places.
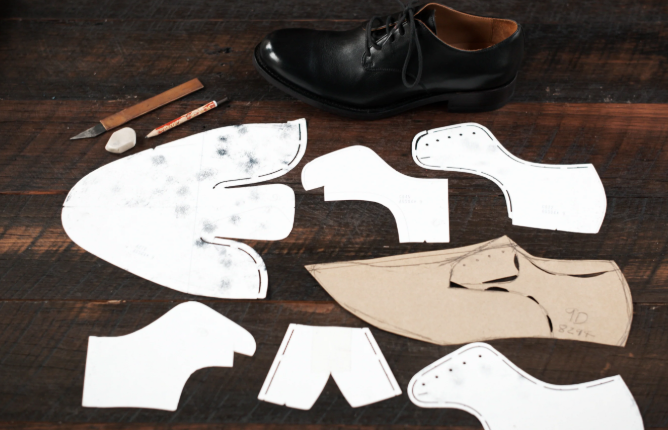
Activity 1: Constructing and assembling bag patterns, as shown in the following Figure
Materials: masking tape, manila paper, plain paper, and draft paper.
Tools: workbench, work table, tape measure, rulers, pencils, cutting board, cutting knife, tracing wheel, and scissors
Procedures
1. Prepare the tools, equipment, and materials to be used.
2. Draw a bag on soft manila paper.
3. Transfer the sketch onto hard manila paper.
4. Cut out the patterns.
5. Use a masking tape to assemble the bag patterns.
6. Clean the tools and equipment.
Activity: Design a small travelling bag with a round gusset.
Exercise
1. Briefly, explain the importance of a seam allowance in the travelling bag patterns.
2. What is the importance of a prototype in production?
3. What is the function of patterns in making a travelling bag?