

CLAY MODELLING
Various methods of modelling
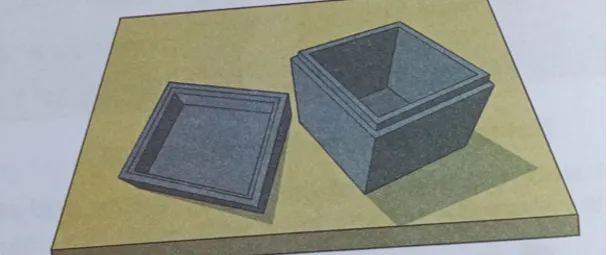
A. Modelling by the slab method
This method is suitable for modelling objects with hall shapes such as
- Pyramids
- Cuboids
- Cubes
- Cylinders
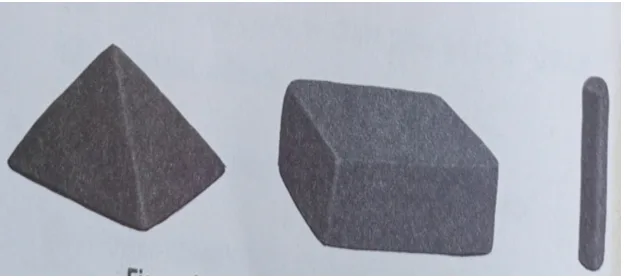
Shapes modelled by slab method
Material for clay modelling
- Clay
- Water
- A piece of timber
- A piece of paper
- Rolling object
Steps for modelling by the slab method
1. Choose the object you wish to model
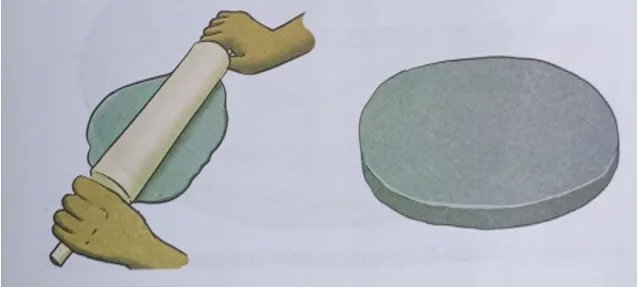
2. Place the clay on aboard and then roll it using rolling pin or similar object like a bottle
3. Roll the clay to get a slab
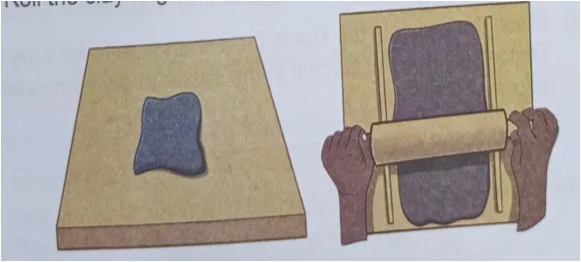
Rolling the clay to form a slab
4. Cut the slab into pieces of the required size and shapes
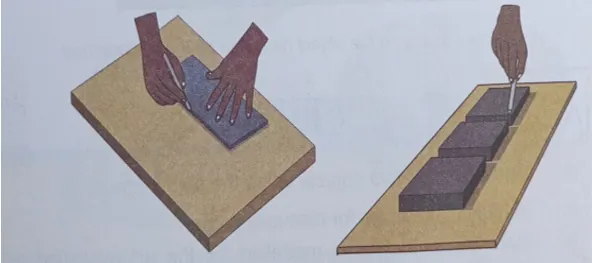
Cutting the clay into pieces
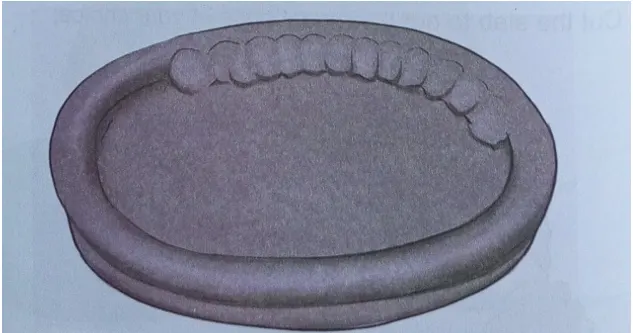
5. Join the pieces by using clay
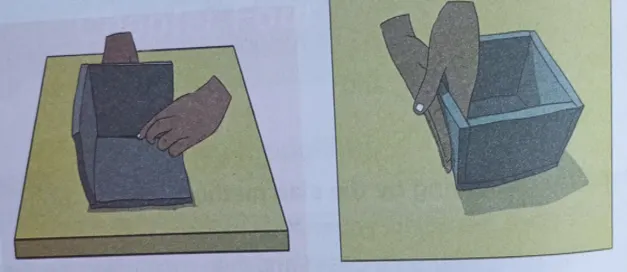
Joining the pieces of the clay
6. Smoothen the joined parts so that they don’t leave gaps
7. Place the object in the shade for a short time to let it dry a bit
Decorate it and put it again in the shade to dry completely
Drying the object modelled by the slab method
B: Modelling using the coiling method
This method is suitable for modelling objects with long shapes such as
- Jars
- Water pots
- Tall flowers pots
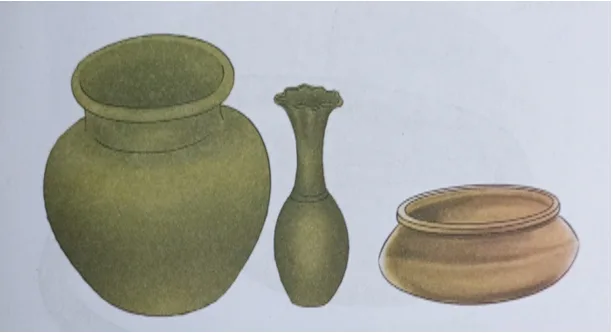
Objects modelled by the coiling method
Steps to be followed in modelling by the coiling method
1. Choose the object you want to model
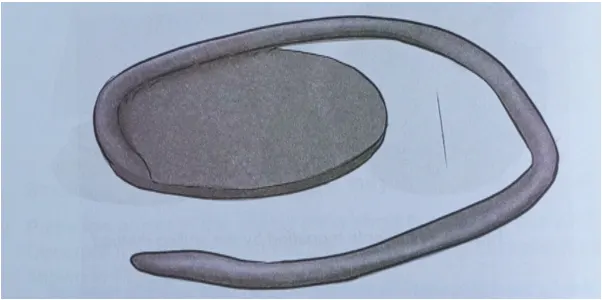
2. Roll the clay until you get a slab to cut the base
3. Cut the slab to get the model base of your choice
Rolling the slab and cutting the base
4. Roll the coil to get the width of the object you want to model
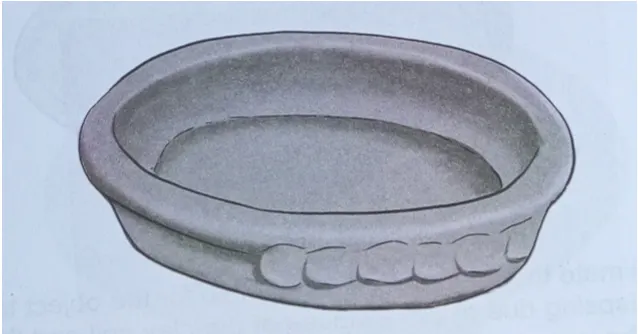
5. Join the coil to the base and place another coil on top of the first one
Joining the base and the coil
6. Use the thumb to press the coil from the top to the base
Strengthening the base and the coil
7. Use the thumb to press the coil from the top to the bottom
Joining coils by pinching
8. When one coil is complete, join it with another coil. Continue constructing the wall of the object until the required height is reached
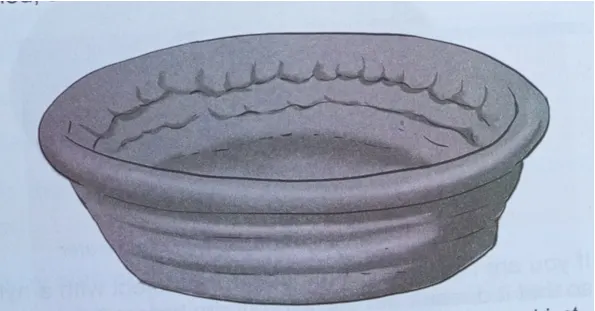
Joining coils to get the required shape of an object
9. Smoothen the edge of the object once it is completed
10. Estimate the average height suitable for the object to prevent collapsing due to the wetness of the clay soil and the weight of the upper part.
To avoid this situation, leave the object open for a short time so that t gets a bit dry, and then continue to complete it,
11. If you are resting for a bit, cover the object with a nylon sheet so that it doesn’t get completely dry before it is completed
12. When smoothing the wall, do not use too much water. The water will weaken the object
13. Smoothen the inner and outer walls by using a smooth tool such as a piece of glass or a plastic sheet. Also, you can smoothen just the inner part and leave the outer parts as it is and
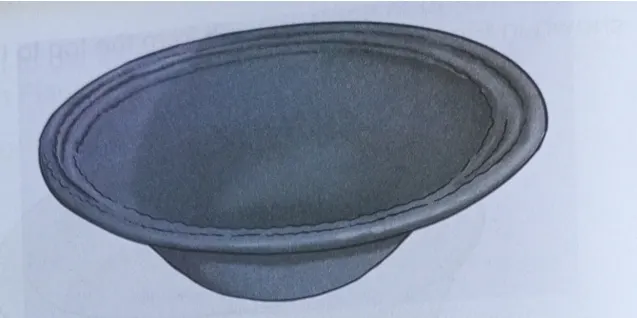
14. Decorate the object before it gets completely dry, then put the object in the shade so that it dries slowly
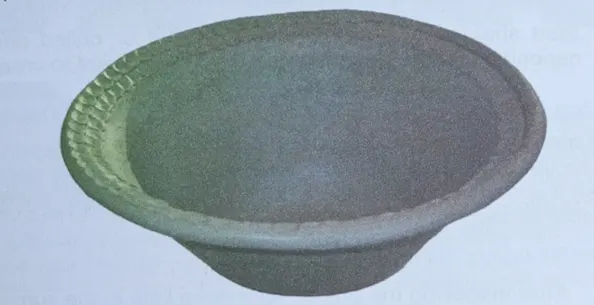
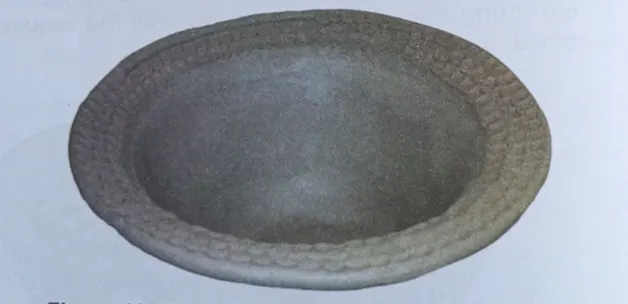
Decorated object
C Modelling by slab and coiling method
Modelling by slab and coiling method is a technique used to create a model by combing two methods which are slab and coiling. This involves creating shapes that mix flat and curved parts
Steps for modelling by the slab and coiling method
- Choose the shape you want to model
- Prepare the clay based on the needs of the model you want to shape
- Decide which parts will be flat and which will be coiled, then
- Start shaping by making either the flat or coiled parts first, depending on the design of the model you want to create
Drying the model
The modelled object should be dried by wind or fire depending on the nature of the clay so that it becomes strong
Then, decorate to make it attractive. If the object does not dry properly, it will not be suitable for long term use
Steps for drying the model
- After modelling the object, let it dry a little in the sun
- Add your favourite decorations, such as flowers and lines and
- Let it dry slowly in the shade
Exercise
- Explain how to prepare clay for modelling pots?
- What is the best method for modelling water jar?