MAKING SANDAL PATTERNS – Leather Goods and Footwear
By the end of this element, you will be able to define the term sandals, identify tools, equipment, and materials used in making sandal patterns and follow procedures for making sandal patterns.
Meaning of Sandals
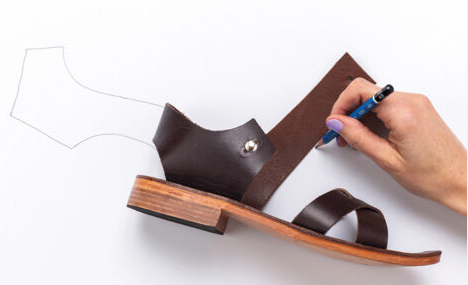
Sandals are open footwear that consists of a sole held by straps passing over the instep to hold the wearer’s foot and sometimes around the foot waist while leaving most of the upper parts of the foot exposed. Making the sandal patterns is mostly done on the shell or masking covered on the last.
Tools, equipment and materials for making sandle pattern
Tools: shoe last, pencil, measuring tape, hole punch, eraser, steel ruler
Equipment: computer, Computer Added Design (CAD), Computer Added Manufacture (CAM) system used by designers to design, grade and cut patterns of different articles, cutting plotter and grading machine
Materials: hard Manila paper, soft Manila paper, and masking tape
Procedures for making sandal patterns
1. Select a sandal shoe last and cover it with masking tape.
2. Draw or sketch the style lines of the sandal upper, as shown in Figures below.

The sandal’s outside style lines

The inside style lines of the sandal

Sandal patterns
Use the measurements in Figure below, presented in millimetres (mm).

Sandal measurements.
3. Cut the style lines and peel off the shell, as shown in Figure below.

Peeling off of the sandal strap shell.
4. Stick and flatten the shell on the pattern paper, as shown in Figure below.

Strap shell on pattern paper
Add 20mm lasting allowances at the ends of strap patterns, as shown in Figure below.

Sandal pattern with lasting allowance
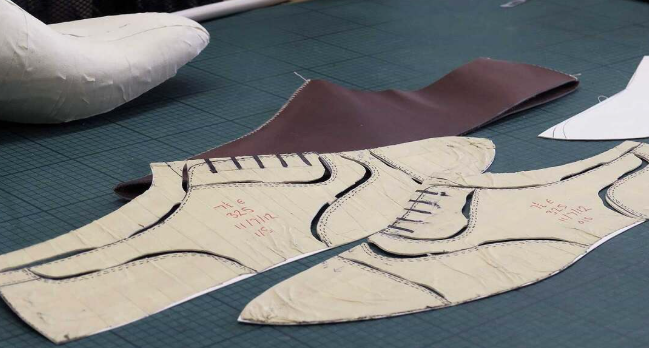
5. Punch holes on the side strap and separate the patterns to construct the upper pattern components, as shown in Figure below.

Sandal upper pattern pieces.
6. Mark the buckle position, buckle holes and assembly reference points. Add a folding allowance of 5 mm, and add 8 mm underlay allowance, as shown in Figures below.

Sandal straps

Strap fastening and reference points

Buckle holes and reference points
7. Construct a sandal lining pattern by reducing 10 mm from the lasting allowance of the original patterns, as shown in Figure below, and the lining patterns, as shown in Figure below.

Lasting allowance reduced by 10 mm

Sandal strap lining patterns.
8. Copy andmark strap ends on the bottom pattern, as shown in Figure below.

Marking straps’ reference points on the shoe last bottom.
Construct a sock lining pattern, as shown in Figures below.

Sock lining pattern making

Sock lining pattern with allowance.

Sock lining pattern
Figure below shows a complete set of a sandal’s lining patterns.

Sandal lining patterns
Activity 1: Designing a pair of men’s sandal patterns with fewer than four intersecting straps
Materials: masking tape, hard manila paper, soft manila paper
Tools and equipment: cutting knife, awl, shoe-last, pencil, eraser, and flexible measuring tape
Procedure
1. Prepare tools and the working table.
2. Cover the shoe last.
3. Trim the extra material.
4. Draw the sandal strap contours.
5. Peel off the sticking paper and flatten it on the pattern paper.
6. Add the integrated allowances and cut the pattern pieces.
7. Construct the lining patterns.
8. Label the patterns with their pattern descriptions.
9. Observe safety especially when using tools and equipment.
10. Clean and store the tools.
Questions
1. What challenges did you encounter when peeling off the shells of intersecting straps?
2. Explain how you overcame those challenges.
Exercise
1. Explain how patterns can be used to reduce the cost of production when making sandals.
2. What is the difference between a boot last and a sandal last?
3. By using any available resources, explore different types of sandals. Describe the structure of each and state how many components and materials are used.